
Epson regularly releases firmware updates to improve the performance of its printers or to fix any bugs in previous versions. Keeping your printer’s firmware up to date is crucial for optimal performance. In this tutorial, we’ll guide you through the simple steps to update the firmware of your Epson printer.
Prerequisite Checklist
Before updating the firmware, ensure the following conditions are met:
Contents
- The printer driver is installed on your computer.
- The printer is in a ready-to-use state and connected via Ethernet or USB.
- You have installed the Epson Software Updater tool, which is necessary for the update.
How to Download Epson Firmware Updater
The Epson Software Updater is a free utility that helps you keep your printer’s software and firmware up to date. You can download it directly from the Epson website or by clicking here.
Once downloaded, install the utility on your computer.
Important Reminders
While updating your printer’s firmware, follow these guidelines:
- Do not use the printer while the firmware update is in progress.
- Do not turn off your printer or unplug it during the update. The printer’s LCD screen may turn blue or go dark, but this is normal. Do not interrupt the process.
- Once the update is complete, the printer will automatically restart. If it has an LCD screen, it will return to the home screen after rebooting.
Steps to Update Epson Printer Firmware
Follow these steps to update your Epson printer’s firmware using the Epson Software Updater on Windows 7, 8, or 10:
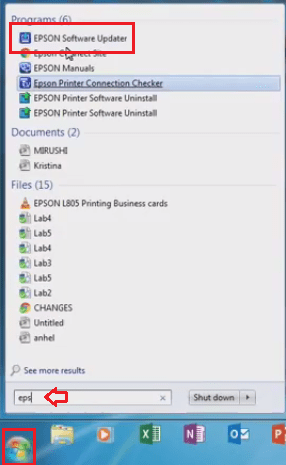
- Open Epson Software Updater:
- Click the Start button and type Epson in the search bar.
- Select Epson Software Updater from the search results.
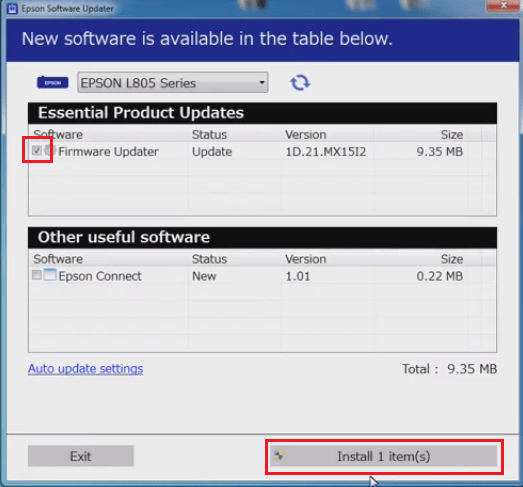
- From the drop-down list, select your Epson printer model number.
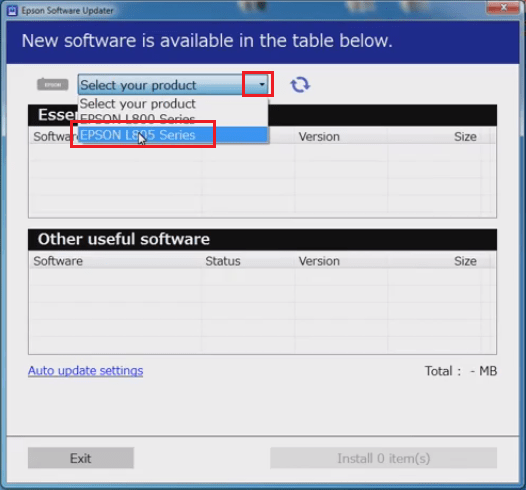
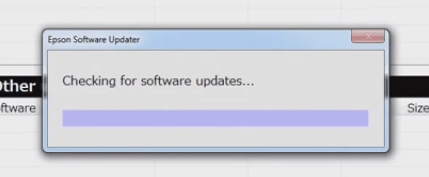
- Wait for the software to check for updates.
- Select the checkbox in front of ‘Firmware Updater’ and click on ‘Install’ button.
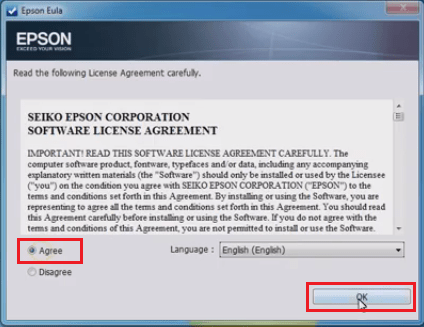
- Select ‘Agree’ and click ‘OK’ to proceed.
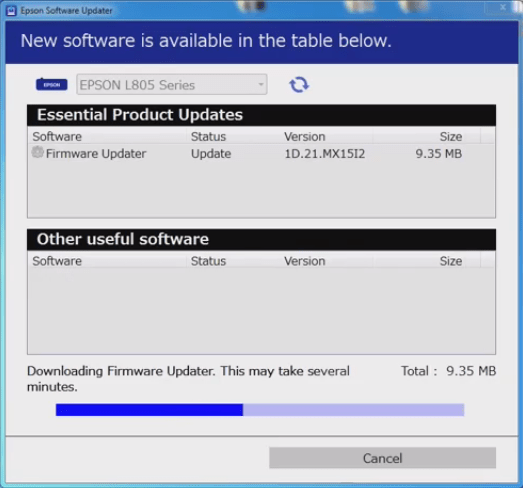
- Please wait for the software to download the firmware.
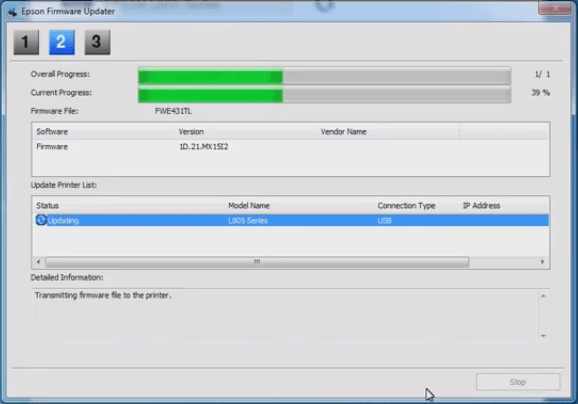
- The Epson Firmware Updater window will appear. Carefully, read the instructions and then click on ‘Start’ button.
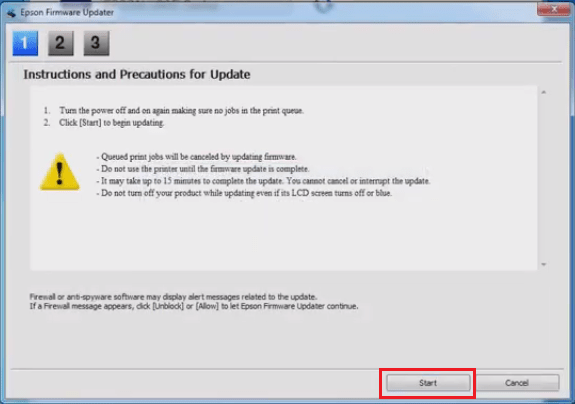
- Wait for the software to update the firmware. This may take several minutes. Don’t turn off your printer or don’t try to use it for printing.
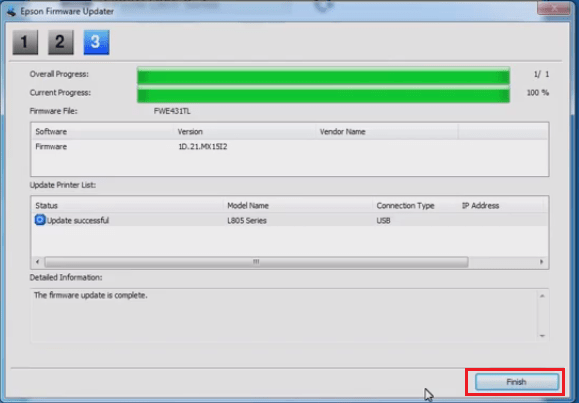
- Once the firmware update is complete. Click on ‘Finish’ button.
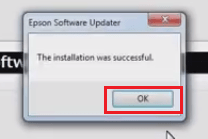
- Click ‘OK’.
- Please wait for the software to check for updates.
- When you see that no new updates are found in the ‘Essential Product Updates’ section, click on ‘Exit’ button.
- Your Epson printer’s firmware has now been successfully updated.
Troubleshooting Common Issues
Q: If the update process is stuck, try the following steps:
A:
- Power Drain the Printer: Follow the steps in this guide.
- Switch USB Ports: Plug the printer’s USB cable into a different USB port on your computer and try updating again.
- Run as Administrator: Make sure you’re running the Epson Software Updater as an administrator. Right-click the updater and select Run as Administrator.
Q: What to do if the firmware update option is missing?
A:
If the firmware update button doesn’t appear in the Epson Software Updater, follow these steps:
- Power Drain the Printer: Follow the power drain steps mentioned above.
- Reset the Printer: Perform a hard reset to restore the printer’s factory settings. Check your printer’s user manual for instructions.
- Update via Printer’s Control Panel: If the Epson Software Updater isn’t working, try updating the firmware directly from the printer’s control panel.